Bioelectronix
Contents
BioElectronix Basics
A great resource about Practical Electronics on wikibooks.
And another great introduction by JeeLabs.
The arduino playground gives a nice overview of electronic components.
Related projects on the wiki
Simple Circuits
Voltage Divider
see Wikipedia
Oscillators
Switches
Transistors
4066 QUAD Bilateral Switch
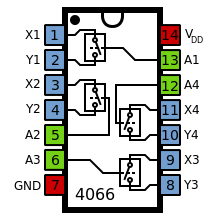
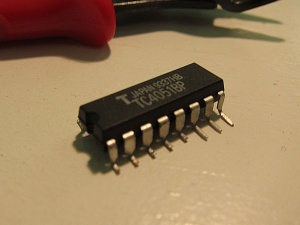
The CMOS chip 4066 is a quad bilateral switch intended for the transmission or multiplexing of analog or digital signals.
from Practical Electronics: The 4066 contains 4 analogue bilateral switches, each with an active-high enable input (A) and two input/outputs (X and Y). When the enable input is asseted (high), the X and Y terminals are connected by a low impedance; this is the on condition. When the enable is low, there is a high impedance path betwen X and Y, and the switch is off.
The 4066 is pin-compatible with the 4016, but has a significantly lower on impedance and more constant on resistance over the full range of input voltage. Therefore, the 4066 is preferable to the 4016 in most cases.
High Power/Current appliances
H-Bridge
L293
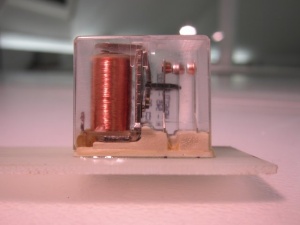
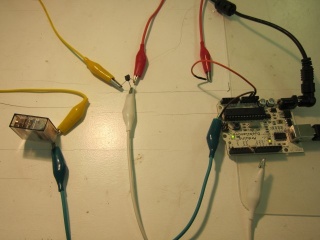
Relais
              5v
              |
            relais
              |
  ---[R]----|<
              |
              gnd
Measuring things
Sensors
Resistive Sensors
Thermistors, LDRs, soil conductance/resistance, salami sensor etc...
see example of a simple moisture sensor by seeed
Analog Voltage Sensors
Temperature sensor (TMP36), accelerometers, CO2 Sensors, Temp/Humidity sensors...
Capacitive Sensince
Check this QTouchADC Library for Arduino to use any fruit or plant as a touch sensor.
Sensors with Communication Protocoll
you need to talk to the sensors with specific protocols, such as, I2C, serial, one-wire etc...
Analog to Digital Converter (ADC)
Arduino
Using the arduino we can measure analog voltages using the 6 Inputs ADC. The analog voltage between 0 and 5 V is converted into a 10bit digital number, from 0 to 1023. this can be used to read a value from a sensor, eg a temperature sensor such as the TMP36, a potentiometer or from the electrodes.
see some interesing info from noisebridge's Bio Board
Sound Card - Line In
If the potentials we want to measure are mostly changes/modulations in voltages, we can also use the analog-to-digital converter from the sound card. Although that means we cannot measure static voltages, but only fast changes changes, frequencies above ~ 1hz. The sound card is a very fast and precise ADC (single if mono, or double for stereo), sampling at 44khz or up to 96khz and 24 bit resolution.
Multiplexing
If we want to measure more inputs we can multiplex them. meaning we measure one input at the time using a chip (4051), which got 8 inputs which are then routed to one single input on the arduino. read more about using the 4051 multiplexer/demultiplexer
Amplification
See the specific page about Op-ampology for Biosignals and beyond
OpAmp
Op Amp is a short hand term for Operational Amplifier. An operational amplifier is a circuit component that amplifies the difference of two input voltages.
Op-Amps on Practical Electronics
If the signals are to low, such as µV in the example of potentials in plants, we need to amplify the signal and make sure we do not have too much noise or other garbage in our signals. INA118 is a high end instrumental amplifier, with low noise. But maybe cheaper amp might do the trick aswell, such as the LM386
Shielding
because every conducting wire, electrode or other parts of a measurement setup are also acting kinda as "antennas", its easy to pick up some artefacts, noise, humms from the electromagnetic environment. typical stuff the measure are the 50Hz humming from all the electric power and lamps or "biipbuupbiiiiip" from mobile phones. to prevent these one can use shielded cables or build a faraday cage around the whole setup.
Body measurements
Simple DIY ECG + Pulse Oximeter
biomedical electronics lectures 2013 by Bruce Hall
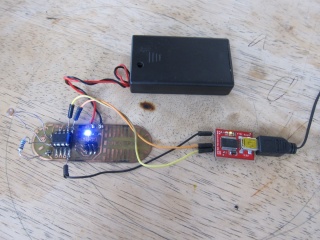
bioTiny
More info about porgramming the attiny85 can be found on the SGMK wiki
serial communication
Silicone (PDMS) Bioelectronic Devices
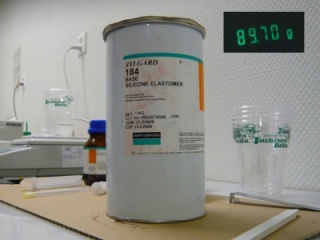
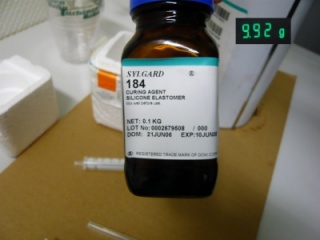
to facilitate the combination of electronics, such as magnets, sensors and LEDs and the cultivation of biological microorganisms we developed a number of prototypes by casting of a transparent silicone rubber. Polydimethylsiloxan PDMS, which can be ordered from dow corning, product name is sylgard 184.
PDMS preparation
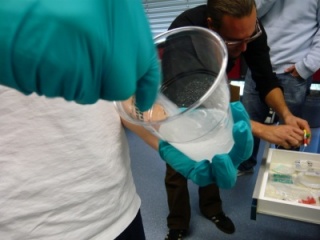
- mix the two components at a ratio of 10:1. a plastic cup is useful for a container.
- stir and mix thouroughly
- leave it sit for 2-3 hours to get rid of the bubbles. if you have access to a vacuum you could do it in a few minutes.
PDMS curing
the PDMS will be processable for about 24 hours if you leave it at roomtemperature. for curing its est to put it in an oven at around 60 to 80° C for about 1 h at least. full curing should be achieved after 4 h.
assembling and casting of the bioelectronic device
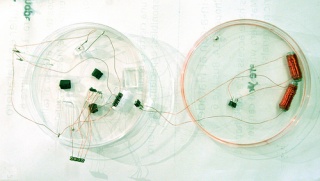
we prepared all the electronic parts by soldering insulated copper wire to them and attaching a standard connector on the other end.
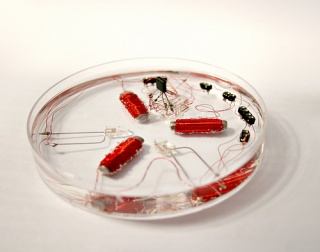
first we glued the electronics to a plastic petridish, so they can be fixed and positioned. then a first layer of PDMS is cast on it and left at roomtemperature for 1-2 hours to get rid of bubbles coming out of the magnets. then its cured in the oven for 1 hour. if needed you can cast and cure a second layer on top of it to cover all the electronics.
then a well has to be cut or punched out in the middle to hold the microorganisms and the liquids. and finally a small drop of PDMS is poured into the well to seal it. you can always fill the well again with pdms and cut out a new well.
