Nail Studio Micro Fluidics
Nail Studio Lab Equipement
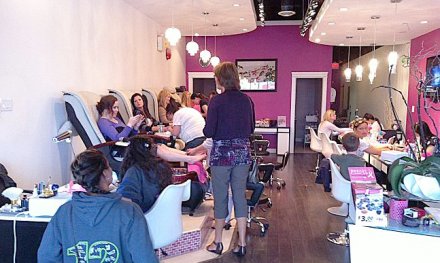
Nail studios are the place where girls who now what is hot hang out. These studios are modern labs with crazy hight tech devices and sophisticated materials. Look what they have:
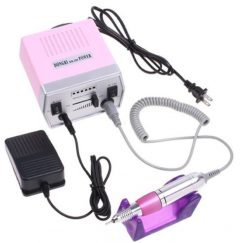
Electric Manicure Station
http://www.amazon.com/AGPtek%C2%AE-Professional-Electric-Manicure-Pedicure/dp/B008R5NAP2
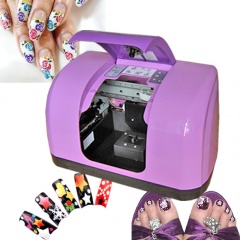
3D Nail Printer
http://www.youtube.com/watch?v=gOwHYDZhnuA
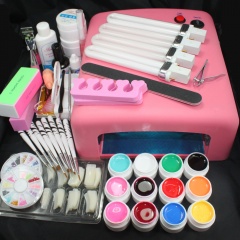
UV curing gels and other stuff
And everything is pink - how cool is that?
Nail Studio Micro Fluidics
Let's get into it and do some low cost microfluidics with it.
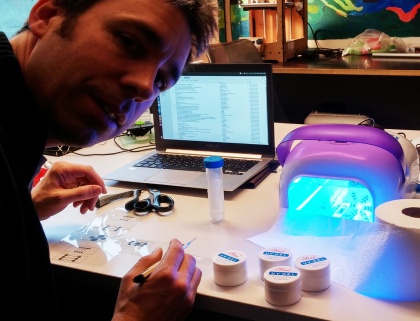
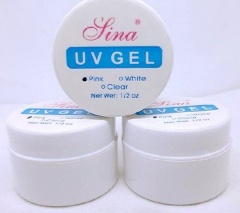
What we need is some UV builder gel pink,white or clear. It's crazy cheep compared to other uv curring material from lab supplies (you can get everything on ebay).
36 Watt LED Gel Curing UV Nail Lamp
Step by step process:
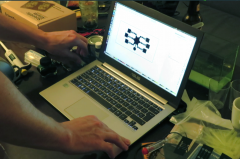
Design your microfluidic device using any drawing program. The size of a regular glass slide is 50 mm x 25 mm. Cover slips 22 mm x 22 mm. Structures can be as small as 0.3 mm large, 0.5 mm to be on the safe side. Think about air evacuation channels if needed.
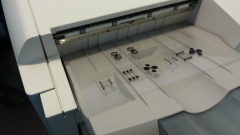
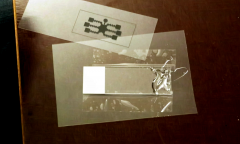
Print the structures (channels in black) on a good quality laser printer.
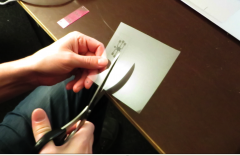
Cut out the pattern you want to process with some border.
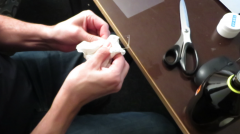
Prepare the surface of your slides if needed. The adhesion of the cured gel to the glass slide is an issue. Different methods have been tested. Cleaning with acetone or alcohol and then rinsing with clear water works. There are slides with special surface treatments or chemicals that can be used to make the surface more adherent. Try and report your findings. Plasma treatment would be probably be good if available.
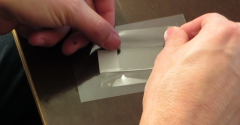
Now attach the slide to a empty piece of foil. You can overlap one edge of the scotch tape to the glass slide to make a step to define the thickness of the gel applied.
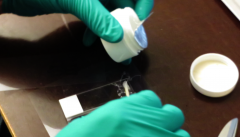
Now apply some of the UV nail gel to the upper side of the glass slide (you can use a cut in half cotton swab). Be sure to use protective gloves when handling the gel.
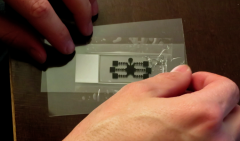
Now place the printed foil with the pattern down on the glass slide. Allign the pattern with the slide. Attach on the upper end with some scotch.
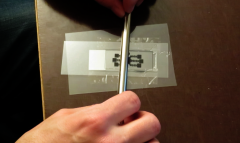
Using a metal rod (can be found in laser or ink jet printers) or similar tool to laminate the glass slide and the transparent foil together with the gel in between. Laminate to the desired thickness.
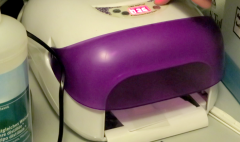
Put all under the UV curring lamp for 25 seconds.
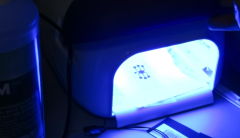
You might have to adjust the time to your setup. The gel should be hardened well while still gel-like under the black part of your pattern.
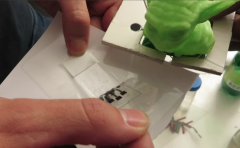
You can now peel of the transparent foil carefully. Your pattern should be visible through gel-like areas.
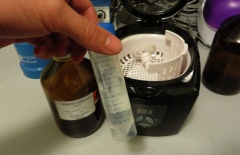
Now carefully clean of the non hardened remains of the gel. You can do so by swinging the slide in alcohol. Or put it in a little tube with alcohol and then for a few seconds in a ultrasonic bath. Be careful not to over do it or you risk to lift of the whole design from the slide.
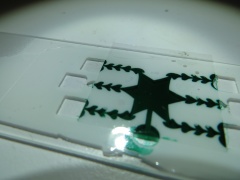
The finished pattern can be covered by a cover slip. Press it on and but the whole device for another 30 seconds under the UV light.
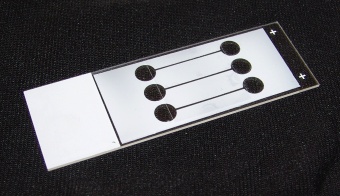
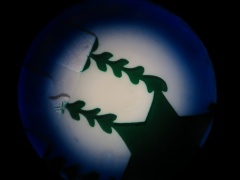
The process is very quick once you know how to do it. Prefect for rapid prototyping. It is quite accurate and clean. Easy transfer from computer designs to device. Small structures are possible with good precision (down to 200 um). You can use different colors of gels.
