GFP Protocol Jugaad
Materials
The list below provides information about the materials supplied in the kit.
The products should be stored as suggested. Use the kit within 6 months of arrival.
Materials……………………... Quantity………….store at
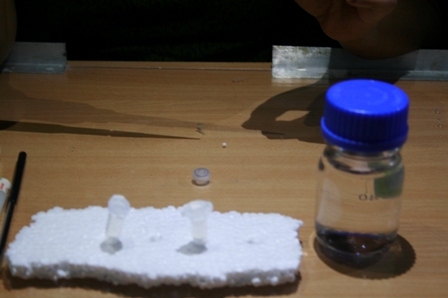
Ampicillin………………………..100 mg………….…..4°C
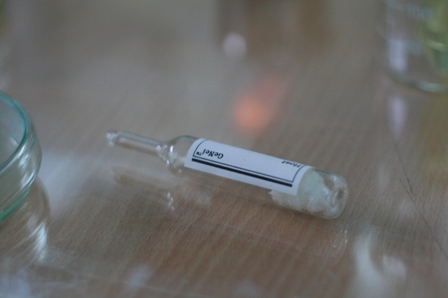
Host ………………………………1 vial……..………...4°C
Solution A………………………. 40 ml…………….….4°C
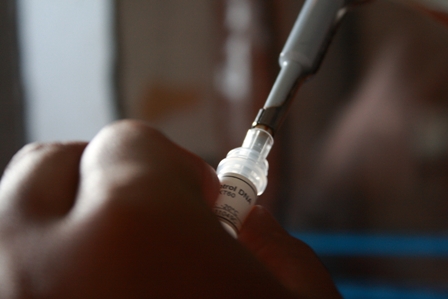
Control DNA……………………...10 μl….…………..-20°C
T4 DNA Ligase………………….…5 μl………………-20°C
10X Ligase Assay Buffer ….……10 μl……….……..-20°C
Insert………………………………20 μl………..…....-20°C
Vector DNA………………………10 μl ………….….-20°C
LB Broth……………………….....15 g ……………..…RT
Agar………………………………...5 g……..………... RT
1.5 ml vials……………………….25 Nos……….….... RT
Equipment :
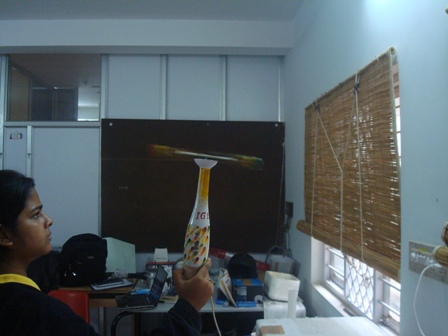
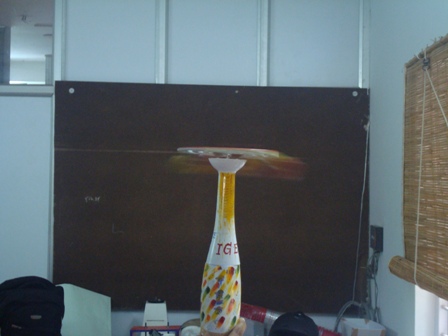
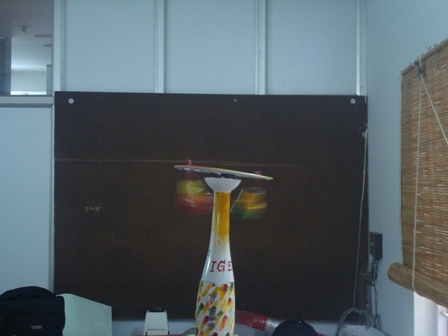
-Centrifuge (preferably refrigerated)( DIY handheld centrifuge ).
-UV transilluminator (312 nm).
-Spectrophotometer.
Glassware :
-Capped centrifuge tubes.
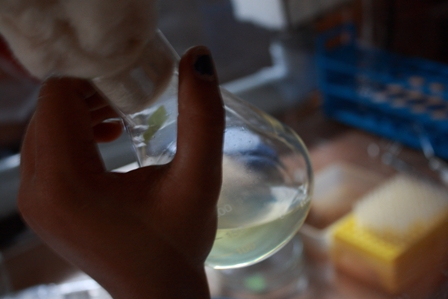
-Conical flask.
-Petri plates.
-Test tubes.
Reagent :
-Distilled water.
Other Requirements:
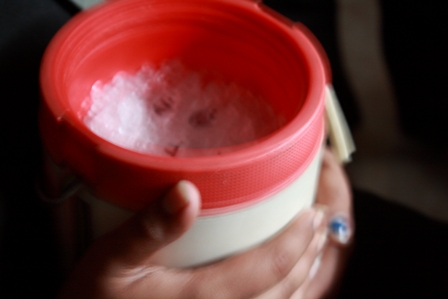
-Crushed ice.
-Cuvette (of 1 cm pathlength).
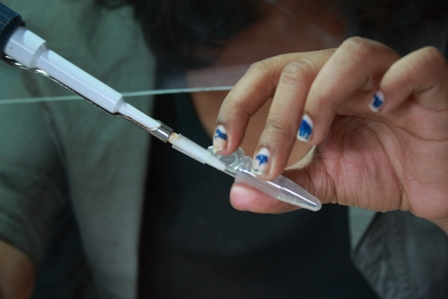
-Micropipette, Tips.
-Thermometer.
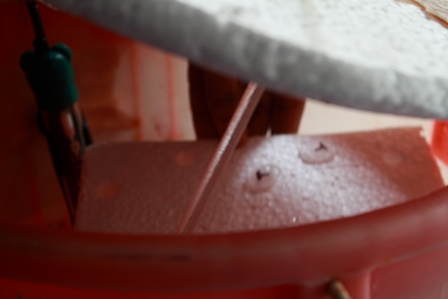
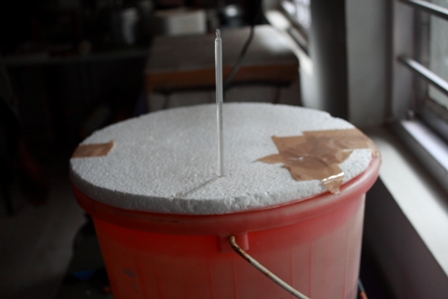
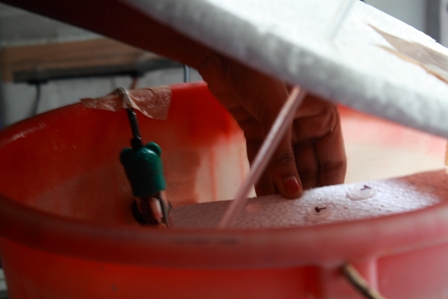
-Water bath. ( DIY Water Bath )
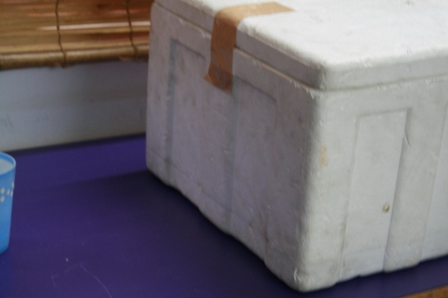
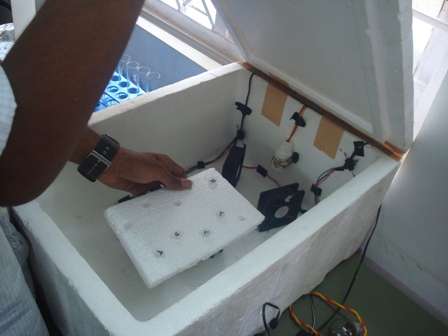
-Incubator.(DIY Incubator )
-Sterilization Hood. ( DIY Sterlisation Hood )
Procedure:
Day 1:
Revival of Host
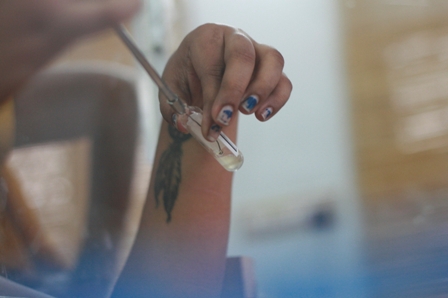
1. Break open the lyophilized vial, add 0.1 ml of LB broth.
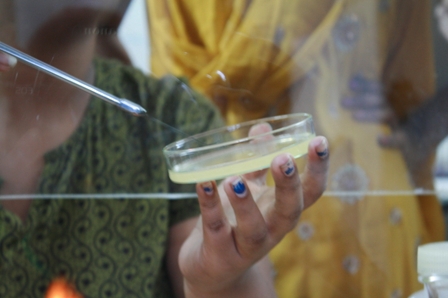
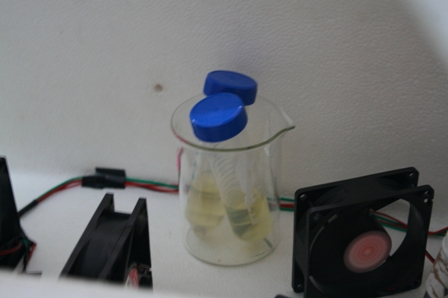
2. Streak a loopful of the suspension onto LB plate & LB culture tubes. (in duplicates).
3. Incubate the plates at 37°C, overnight.
Ligation of Vector to Insert
4. Thaw the ligase assay buffer, vector and insert DNA.
Note: Thaw the ligase assay buffer vial on ice, store at -20°C immediately after use.
5. Set up ligation reaction as follows:
-Water : 11 μl
-Vector DNA : 2 μl
-Insert DNA : 4 μl
-Ligase assay buffer : 2 μl
-T4 DNA ligase : 1 μl
Mix the contents by tapping gently and incubate at 16°C waterbath, overnight.
Note: Set up five ligation reactions simultaneously.
Day 2:
Preparation of Competent Cells
6. Incubate the culture tubes at 37°C. Grow until OD A600 reaches 0.3, this takes about 2-3 hours.
7. Chill the culture tubes on ice for 10-20 minutes.
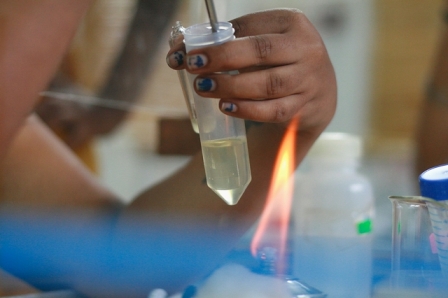
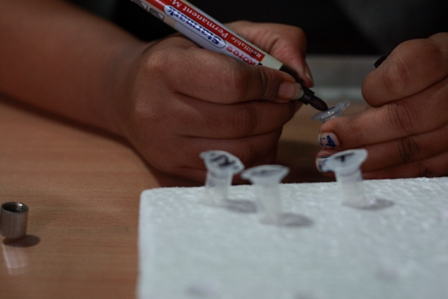
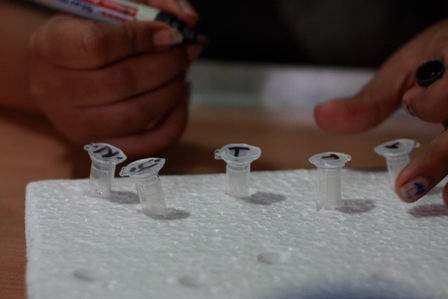
8. Transfer the culture aseptically into sterile vials. (5 vials with 0.5ml each)
9. Spin down at 6000 rpm for 8 minutes, preferably in a refrigerated centrifuge at 4°C or spin at Room temperature (RT).
10. Discard the supernatant.
11. Resuspend the cell pellet very gently in small volume of ice-cold solution A (approximately 2 ml), using a pre-chilled pipette. Care must be taken not to remove the tubes from ice during resuspension. Add remaining 33 ml of solution A, resuspend gently.
12. Keep the vials on ice for 5 minutes. Centrifuge at 8000 rpm for 5 minutes at 4°C or spin at RT.
13. Discard the supernatant and chill the tube on ice. Resuspend the pellet in 3 ml of ice-cold solution A.
Note: Resuspension is to be done gently as cells are very fragile at this stage.
14. Heat inactivate the ligated samples at 65°C for 10 minutes. Spin at 5000 rpm for 2 minutes and keep the vials on ice.
15. Aliquot 2 μl (10 ng) of control DNA each into 5 ligation vials
Transformation:
16. Take a 2 vials of ligated sample and control DNA and 1 vial of only control DNA( positive control).
To this add 200 μl each of competent cells. Tap the
vials gently and incubate on ice for 20 minutes.
17. Label the remaining 200 μl of competent cells as non transformed (negative control)
cells, place on ice till the plating step (step
23).
18. Tap all the vials gently and incubate on ice for 20 minutes.
19. Heat shock the cells by placing the vial(s) in 42°C water bath for 2 minutes, then return the vials to ice and chill for 5 minutes.
20. Add 0.5 ml of LB broth aseptically to the vial(s) and incubate at 37°C (shaker) for an hour. This is to allow bacteria to recover and express the protein.
Note: While the heat shock treatment is going on, prepare the LB-Amp agar(200 μl in 200 ml of LB agar.)
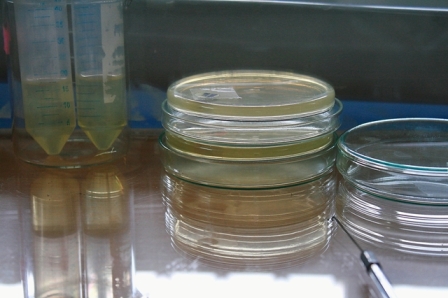
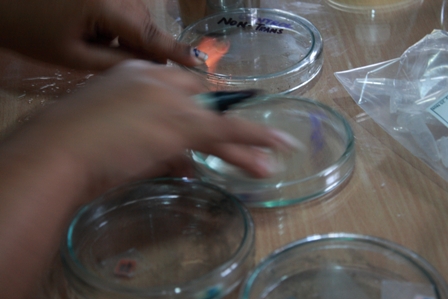
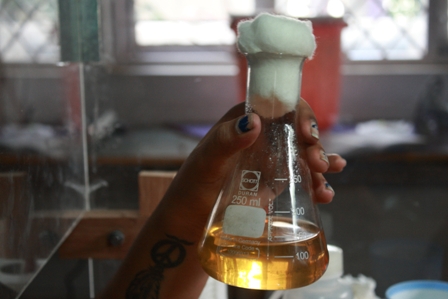
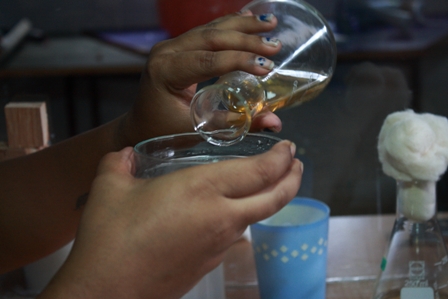
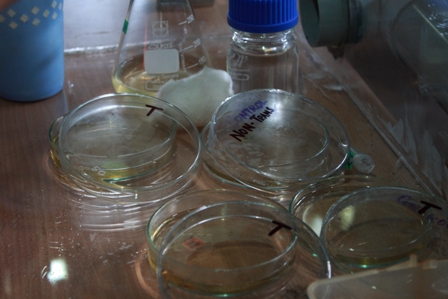
21. liquify the already made LB-amp agar and pour about 20 to 25 ml of i in each plate.
Note: Wait for agar to solidify again.
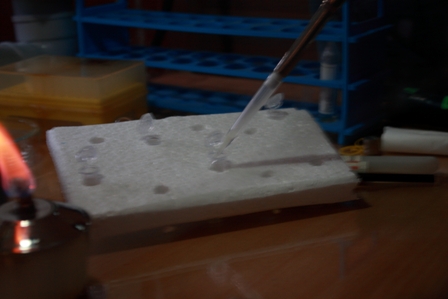
22. Pipette 200 μl each from the vials transformed with the ligated mix onto LB-Amp plates and spread thoroughly using spreader/pipette.
23. Pipette 200 μl of LB onto a LB -Amp plate and spread 20 ìl of the cells transformed with control DNA. Label this as positive control plate.
24. Plate 200 μl of non-transformed cells onto another LB-Amp plate to check for contamination. Label this as non-transformed (negative control) plate.
25. Keep one plate with only LB-Amp Agar and nothing else. Name this as double negative control.
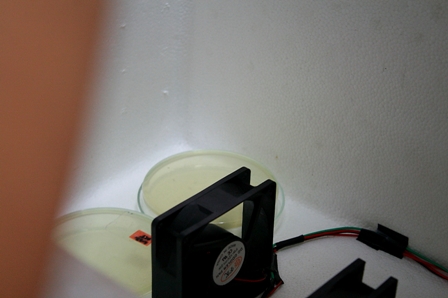
26. Incubate the plates at 37°C, overnight.
Day 3:
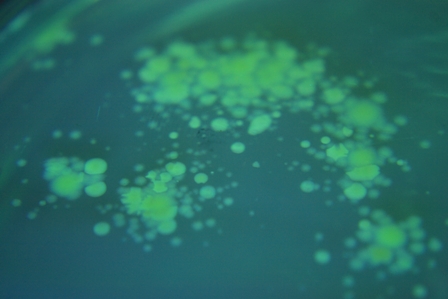
Moment of Truth
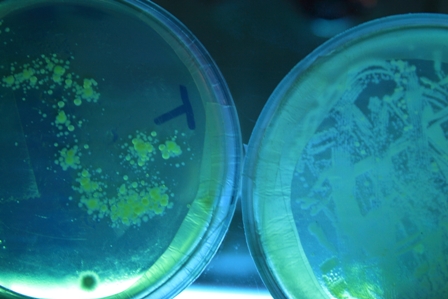
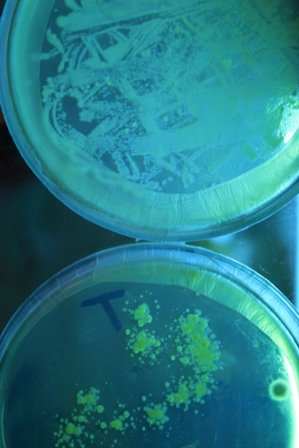
27. Observe the plates under UV-light (312 nm).
Note: If observed add 254 nm of less intensity of glow could vary.
Note: The 3 controls:
Positive control: (Competent cells + Control DNA.)
-If there are no colonies it means there is something wrong with the cells.
Negative control: (only Competent cells.)
-If there are no colonies it means the cells are contaminated.
Double Negative control: (Empty LB-Amp plate.)
-If there is growth then there is external contamination.
Precautions:
1. Work in a closed room with all the equipment in it. Don't run around for things.
2. Keep the room clean. No eatables, foot wear allowed.
3. Run UV light for about half an hour before starting experiment.
Note: do not stand close to the UV when it is on. use a uv filter to cover all sides of the box and if posible cover the incubator and walls also.
4. Clean hands with alcohol before starting anything.
5. Before using glassware autoclave them (wrap in paper and boil in cooker for 3 wistles.)
6. All work is done in the hood to avoid external contamination.
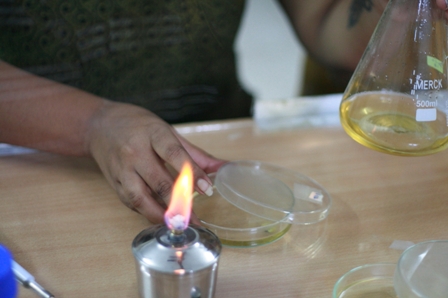
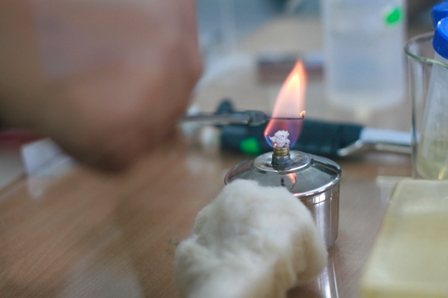
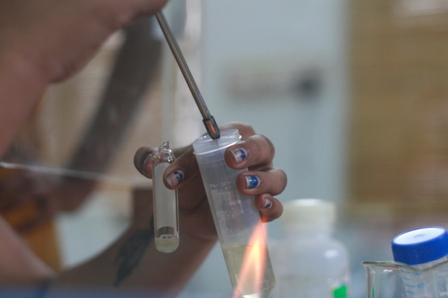
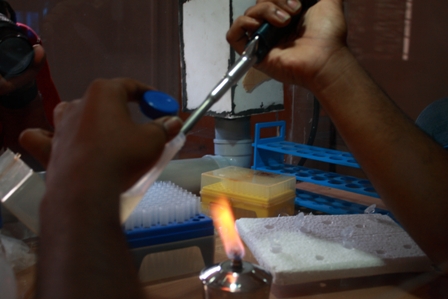
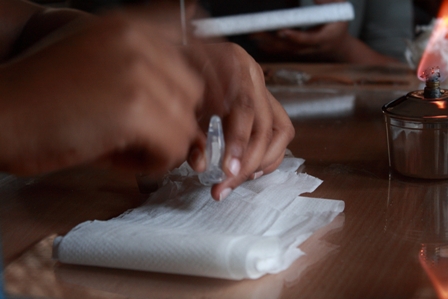
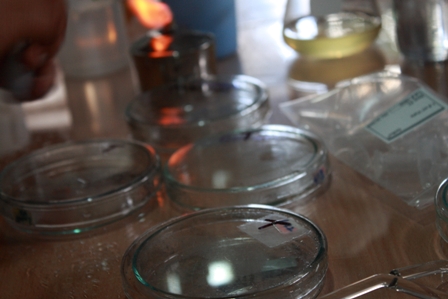
7. Sterilize everything in alcahol and flame before use
8. Keep someone beside you to give and take things from you while working in the hood. Don't keep moving your hands in and out of the hood.
9. Keep hood closed when not in use
10. When using the water bath run it till it reaches the required temp. and then use it.
